Have you ever opened up your refrigerator just to be surprised by an unpleasant smell coming back at you? What happened here? Where did that come from? You might think that cleaning a fridge regularly would prevent this problem, but you’d be surprised. Do you know how to clean a refrigerator that smells when you’re in this situation?
It’s not a fun experience, but it doesn’t have to be difficult either. Ridding your refrigerator of unpleasant smells is a lengthy process, but we have some tips to ease the burden and maybe even keep your fridge smelling neutral for longer.
Keep reading to learn more about how to get the smell out of a fridge and get your kitchen smelling clean and fresh again.
Why Do Refrigerators Smell?
If you keep your refrigerator fairly clean and free of old food, you might be confused as to why you keep getting a smelly fridge. What gives?
If you have old food or drinks in your refrigerator, this is obviously the cause of the smell. Similarly, if you have a lot of grime you can have the same result.
The main cause of the smells is bacteria. Bacteria can exist even after the apparent source of the smell has disappeared. Even the cold won’t get rid of it (though it does delay the process of food breaking down and bacteria growing).
When you can’t see the source of the smell it can be hard to imagine getting rid of it, but we’ll talk you through a few steps and tips for cleaning and future prevention.
How to Clean a Refrigerator That Smells: Step by Step
Set aside an afternoon for this process if you haven’t cleaned out your refrigerator in awhile. If you have a serious smell problem, considering opening your windows and turning on any fans in the kitchen. Even the fan over your stove might provide a bit of relief.
You’ll be keeping your refrigerator open for a while, so plan accordingly.
First: Look for Any Offending Foods or Drinks
This could end up being your only step if you’re lucky. Get into your fridge and take out anything that’s even slightly questionable. Basically, if it’s been there for more than a few days and you don’t know for sure that it’s still good, remove it. If it’s fine you’ll be able to put it back, so don’t worry about waste.
While refrigerated food has a pretty good shelf life, different things break down at different rates. You can get a general rule of thumb by looking into food freshness and safety charts.
These aren’t always accurate, but they are a good guide to go by. You might be surprised at how long some foods can be kept or how quick others go bad!
When in doubt, take the object out.
Investigate for Smells and Freshness
Once you have your questionable foods and drinks removed from the refrigerator, begin going through them one by one. If you have a packed fridge this is a great time to enlist another member of the household for help.
Sometimes it’s very obvious when food is no longer remotely edible. If you open the container and the food is clearly rotten or moldy, it’s time to throw it away. We all have those containers in the back of our refrigerators that we can barely remember putting there. It happens.
If the food looks fine, see if it passes the smell test.
This isn’t a fun test, but it will tell you quickly when you need to get something out of the fridge. Sometimes it’s hard to tell if something has gone off from smell alone, so if you’re in doubt, throw it out.
Once you’ve removed ant spoiled food, get back into your refrigerator and see if it’s improved. If you’re lucky, that one thing was creating the smell, but it’s likely that you’ll need to move to the next step.
Remove Everything From the Fridge and Air It Out
Unplug your refrigerator and get ready for the real work to begin.
After you’ve gotten rid of bad food, it’s time to commit to cleaning out the fridge itself.
It’s helpful if you have an external cooler or freezer while you’re doing this, especially if you’re going to be cleaning out your freezer as well (more on that later!). You don’t want more things to go bad after you’ve worked so hard to clean your refrigerator!
Once everything is removed and safely tucked away, leave the door to your refrigerator open. It won’t be open for long but aim for 15 to 30 minutes to give your fridge enough time to air out completely.
This likely won’t get rid of all of the smells, but it will help with the overall freshness and set you up with a good foundation for the next step.
Get Your Supplies
Now the hard part begins. Once your refrigerator has had some time to freshen up, you’re going to start the more hands-on process of cleaning and sanitizing it.
You have a few options when it comes to cleaning supplies here. You can use household cleaners but the smell of those might persist in the refrigerator, at least for a while. That smell can get into your food if you replace it before the cleaner has dissipated.
There are natural cleaners that you can buy from many health food stores and even standard grocery stores. You can also go very natural and use the old standards: baking soda, vinegar, and water.
While vinegar does have a smell, it won’t last for long and the smell is a “food smell”.
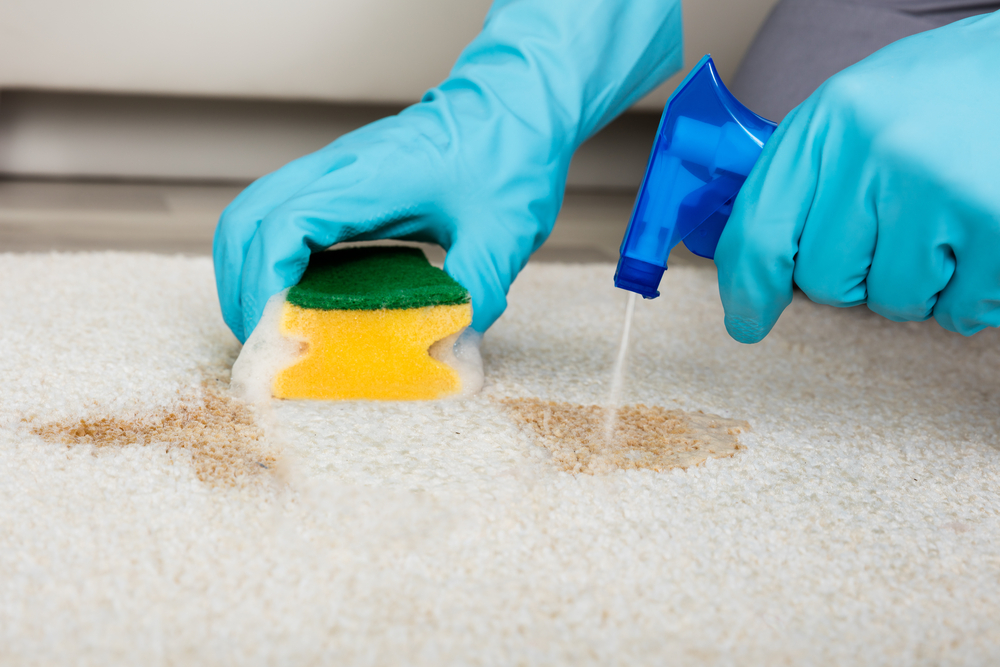
Also, consider using some dish soap for particularly messy areas, a clean sponge, and some gloves if you’re not comfortable getting your hands dirty. This is going to be a process.
Wipe Everything Down
The first step is removing anything that you see on the surfaces. This can be done with a sponge dampened with warm water to start with.
You’ll want to wipe down the walls, the shelves, the door, and the drawers. If you’re able, removing the drawers and the shelves can make this process easier.
Drawers can often hide bacteria and wiping them down may not get into their ridges. Filling them with hot water and dish soap for a few minutes can be a great way to clean them out if they’re removable.
Apply Cleaners
If you’re using a baking soda and vinegar combination, there are a few ways to go about this.
You can mix these things together with warm water in a bowl or bucket that’s large enough to dip your sponge or rag in, or into an empty spray bottle. This will provide easy access for your cleaning process.
You can also apply vinegar and baking soda directly to your sponge. You’ll have to redo this a few times, but you’ll likely have an easier time removing any stains and stubborn smells this way.
Get deep into your fridge and scrub any surface that may be causing the problem. If you’re unsure, scrub everything. You’ll thank yourself later.
Rinse
While using baking soda and vinegar is a great way to clean naturally, it does leave a film when the solution dries.
To get rid of this film, simply wet your sponge or rag with warm water and repeat the wipedown process.
Keep the refrigerator open until all surfaces have dried.
Put the Food Back
This is a great time to set up an organization plan for your fridge if you don’t already have one.
After a busy shopping day it’s easy to just throw things wherever they fit, but keeping things organized can make your life easier in the future. It’s easier to know when something has gone off if everything is in its proper place.
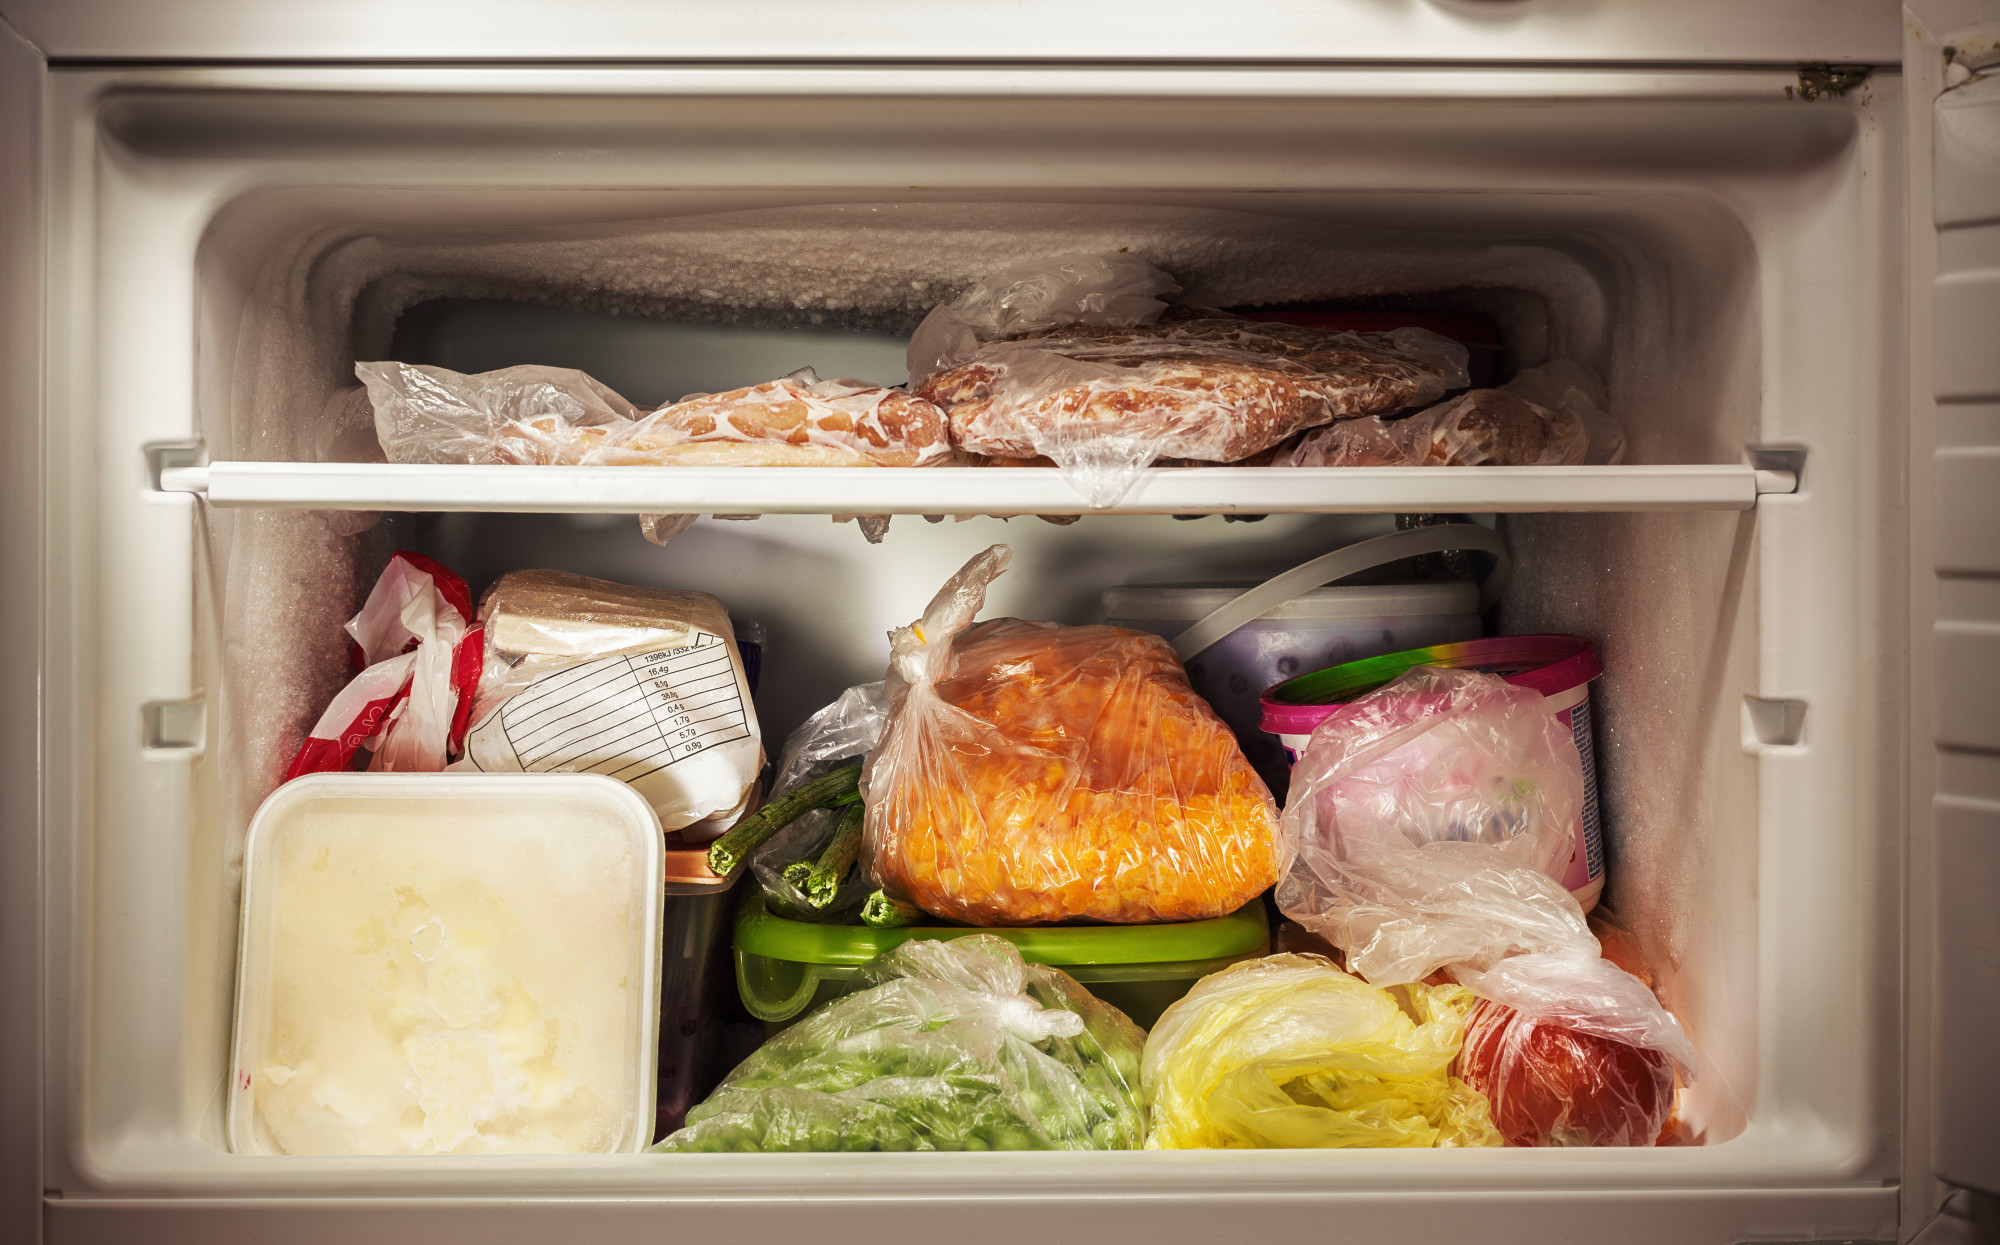
Bonus: Tip for Freezers
If you’re worried that the smell might just be coming from your freezer, fret not. You can handle that as well.
While the process is the same for the freezer as the fridge (in this case, though, you definitely need a cooler for your perishables), there is an important extra step that you can take to make sure you get every potential smell out.
If you have an ice maker, this could be a source of your trouble. While it’s typically commercial ice machines that have this problem, your ice machine at home isn’t safe from bacteria.
Bacteria can survive on ice.
Remove your old ice cubes and dump them out into a sink full of hot water and dish soap just in case the smell is coming from them. This is a good time to clean the ice bin if it’s removable.
You’re then going to scrub the icemaker itself with the vinegar and baking soda solution. Consider using a thin brush to get into the inside.
Before you put your bin back, make sure you replace any filters that your ice maker may have. Consider running one round of ice that you’ll dump before returning to your “edible” ice.
Prevention
The next step towards getting rid of smells is using some strong preventative measures.
Keeping your refrigerator fresh isn’t hard, but it might take some extra upkeep. It’s less work than doing the full clean-out process, though.
Baking Soda
Throwing an opened box of baking soda into the fridge is a popular way to keep smells at bay. Baking soda absorbs the unpleasant smells.
It has a neutral smell on its own, so it shouldn’t create any problems for the other food items in your fridge. If you prefer something stronger, consider using (unused) coffee grounds.
Mark Your Items
This is a bit of upkeep, but if you’re devoted to a clean and fresh fridge (and safe and healthy food) you’ll probably benefit from it.
Try labeling your foods with the dates that you made or opened it and stored them. This way, next time you run into this problem, it will be easier to identify the troublemakers.
You can also add the amount of time that it can reasonably stay in the refrigerator before it’s time to remove it. There are plenty of options for reusable food storage labels if you’re worried about waste.
Use Glass Storage
Plastic containers are popular for food storage. They’re lightweight, affordable, and overall pretty easy to clean.
Many of them don’t get completely clean though, do they? If you struggle with the food stains plaguing your food containers, they may also be clinging to smells.
While it’s possible to clean out the plastic containers you have, consider switching to glass next time you’re in the market for new food storage solutions.
Check the Temperature
Sometimes the temperature is what’s causing problems for your refrigerator. When you’re done cleaning, make sure that your refrigerator is at the proper temperature.
If a fridge is running too warm you may have problems with foodstuffs decomposing more quickly than they should.
Clean Regularly
Doing a routine quick-clean is going to be far less time consuming than committing to the deep cleans.
If you have a weekly kitchen cleaning routine, add a quick wipedown of the fridge into it. You don’t have to remove everything, just wipe any soiled surfaces down with warm water or vinegar (or both!).
Doing this will make the future deep cleans much quicker and it’ll keep your fridge smelling fresh in the meantime.
Smelly Fridge? No Problem
If your fridge is smelling a bit “off”, committing an afternoon to really clean the whole thing out is what’s required. However, if you don’t have time to tackle this yourself, you can always call on us.
We don’t only clean fridges either. Check out our cleaning services for your home today. We can get you an instant quote for your next cleaning!